Hi friends!
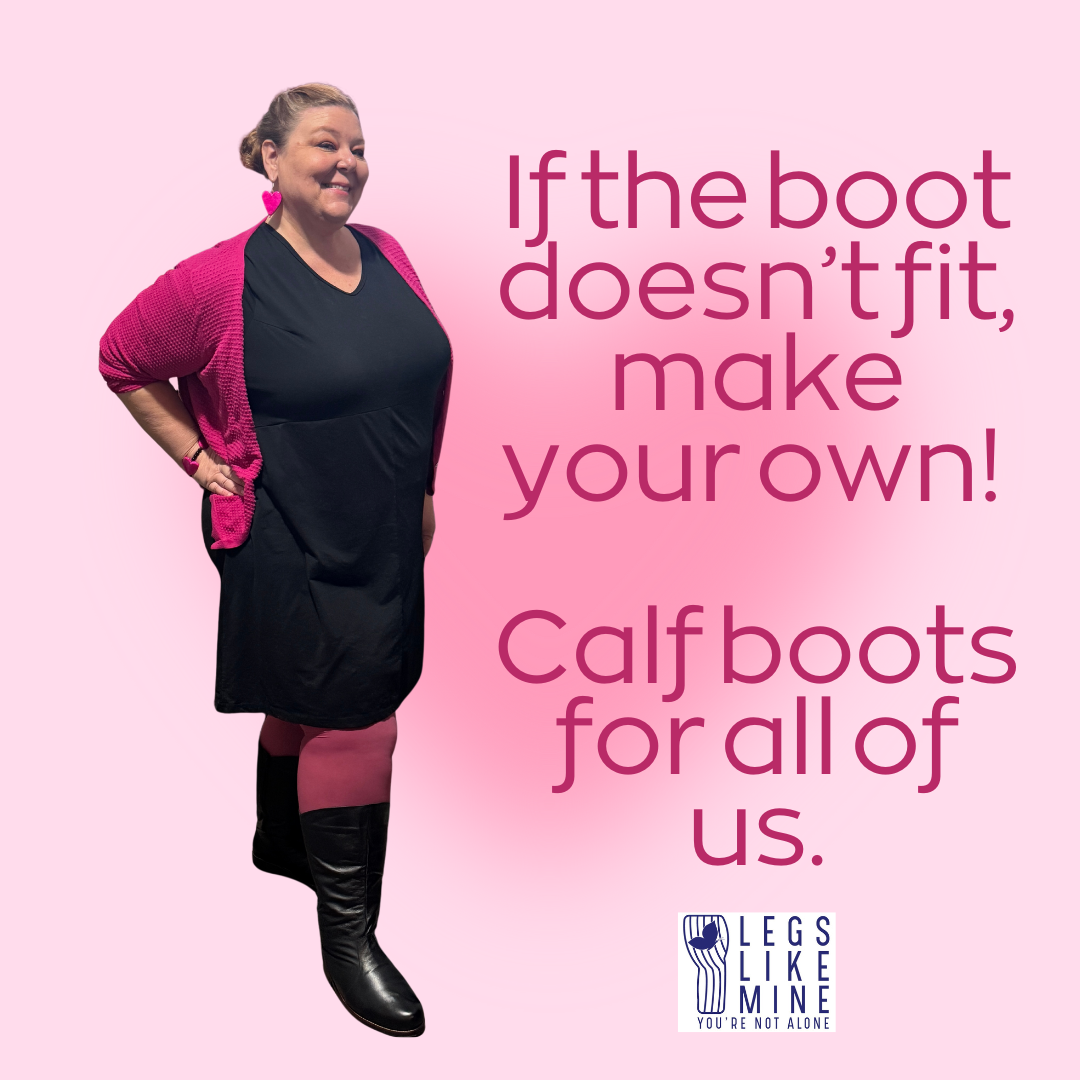
I’m seriously ready for my footwear line to be out, with collections coming each season. I feel like a lot of us have been missing out on shoes for all kinds of occasions, and once the LegsLikeMine team gets the first round figured out, with proper measurements and molds, we can be off to the races. I have five years’ worth of collections mapped out already, including an answer to ballet flats, sandals, open back shoes, sandals, dress shoes, and so on. And this is after the calf boots and loafers make their debut.
By the way, progress is going great on our lipedema friendly shoes. We’ve gotten many measurements and our footwear technologist has come up with sizing for mid to advanced stage ladies, with the sizes going off to the last maker next week. We selected the soles for the first samples, and hired a footwear fit model in the UK, so she can be close to the design team and technologist as updated samples come out.
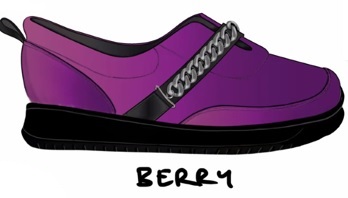
This is the first sole style we’re going to try on sample round 1 of LegsLikeMine lipedema friendly loafers. It’s wide fit, sturdy, and has room for nice arch support.
Anyway, until our shoes come out, I feel I’m somewhat inhibited from outfit selections for me to share with you because of the shoes. Right now, I start an outfit idea with the question, “what shoes are there available that could go with this outfit?” And if I don’t come up with one, I move on to the next outfit idea (they’re endless, so no problem, but still…). I have some brands that I go to, but they do not fit my mother’s ankles. And if they don’t fit her, I know many of you are also waiting on shoes for a variety of occasions and outfits, too.
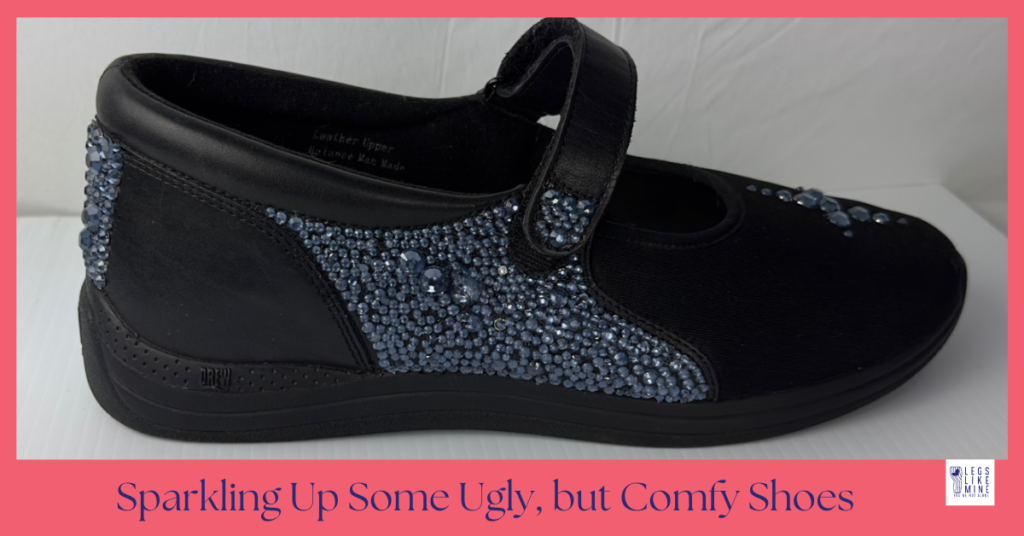
So, I have these shoes by Drew, and they are so comfortable, keep my feet from throbbing, and they provide good stability and arch support. Cosmetically, they make me sad. I’ve under worn them because I just can’t make myself do it, frankly. So, this week I decided to just glue on a bunch of crystal things kind of in the pattern of a saddle shoe with a little design on top to make them more fun. I know I’ll wear them now because I like anything unusual. I had another motive though. Keep reading!
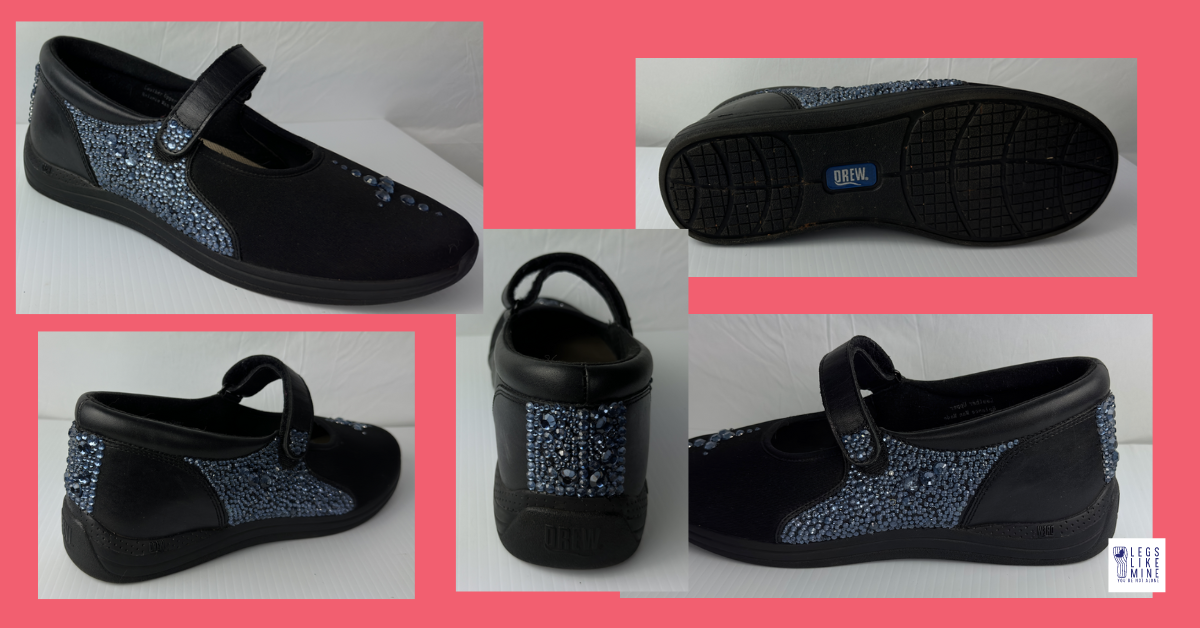
My very first attempt at footwear photography. I see that I need a lot more light, despite having professional soft boxes.
I need to learn how to photograph footwear in a way that is similar to sort of standards in the shoe industry. I started doing some research while my shoe consultant finishes up a course she’s doing on this topic. She’s already done a really nice blog post for beginners that I used as one source, and I am the begginer-ist of the beginners. I also trolled Zappos to see how they do it. Here’s what I learned in case you’re interested at all. This is the behind-the-scenes stuff that we literally take for granted when we buy a pair of shoes online or in a catalog.
- Shoes need a lot of light. I used what’s called soft boxes that I have set up in my home photography studio (AKA my college-aged son’s bedroom) to light from two sides and they’re still pretty dark, so a good lesson. I’ll need to figure out positioning of the boxes better, or even add a third soft box.
- You have to get the shadows just right, like under the shoe. If there’s a shadow behind the shoes, it looks like a homemade job.
- You need a white surface and white background. My background is off-white and my surface was a piece of a sign with ridges in it. More lessons. I’ll get a better background for photos.
- If you look on Zappos or other footwear sites, there really are some standard poses for shoes, the 3/4 angle, the side, the back, the bottom, and so on. It’s like putting a little formula together to be really consistent to look professional.
- The pics need to be cropped so the shoes are similar in size, and for websites for sales, they need to be very consistent so it’s not distracting.
- I think the other thing I’m seeing is that when I used the 48-megapixel setting on my camera, the details looked great. So that good camera on the iPhone 14 pro was a good investment.
So today’s project was fun. I think I can continue to improve and learn in this area, and also apply the pics to my outfit photos. I’m always trying to figure out how to pose myself and take SO many shots to get one good blog post for your outfit ideas. Now, I need to go ‘bedazzle’ the other shoe!
I hope you enjoyed my little lesson. In case you’re interested, here’s the dreaded ugly, but so comfortable, I can’t get rid of it, shoe. It’s really fantastic for lipedema feet, and more palatable when it’s been sparkled up!
Stay shiny friends!
Susan
This post contains paid ads. As an amazon associate, I receive commissions on sales.
